Gardening
How to Mulch Your Tomatoes with Grass Clippings (Grow Better Tomatoes!)
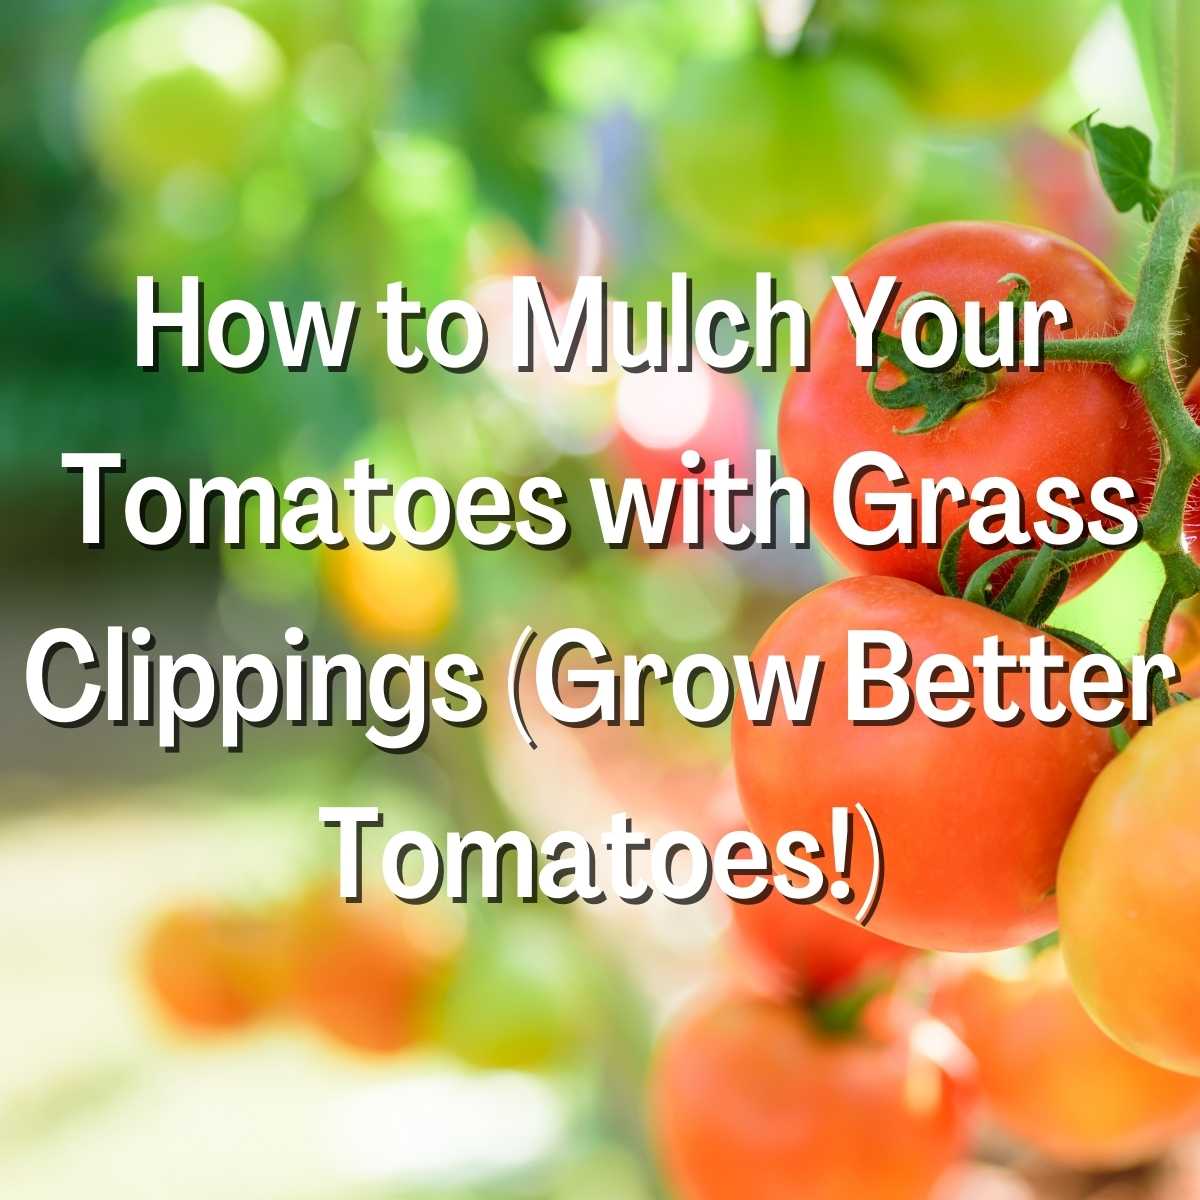
Using grass clippings as mulch can be a great way to improve the health of your tomato plants. Not only does this practice conserve water, but it can also help to suppress weed growth and keep the soil temperature cooler.
In addition, mulching your tomatoes with grass clippings is an easy and affordable way to improve their overall health!
What Is Mulching, and Why Is It Important for Tomato Plants?
The word “mulch” may conjure up images of a messy gardener inadequately covering their plants with a haphazard layer of leaves. However, mulching is a vital gardening practice that offers many benefits.
In addition to suppressing weeds and conserving water, mulching helps to keep the soil temperature cooler. This is especially important in hot summer months, when tomato plants are susceptible to heat stress.
By creating a barrier between the soil and the air, mulching helps to regulate the temperature of the root zone and prevent the plant from becoming stressed.
As any gardener knows, a happy plant is a healthy plant.
The Benefits of Using Grass Clippings as Mulch for Tomato Plants
As any avid gardener knows, fresh tomato plants are a delicious addition to any meal. But did you know that grass clippings can also be used as mulch for your tomato plants?
Related Post: What Is the Best Wood to Use for A Raised Garden Bed? (Different Wood Examined)
Grass clippings provide a number of benefits, including added nutrients, improved drainage, and weed suppression.
In addition, they help to keep the soil moist and cool, which is essential for healthy plant growth.
There are many benefits to using grass clippings as mulch for your tomato plants. Grass clippings can help to:
- Suppress weeds
- Conserve water
- Keep the soil temperature cooler
- Improve overall plant health
You’re also recycling a common lawn waste product, which is always good!
Are Grass Clippings Good Mulch for Tomatoes?
Grass clippings are an excellent mulch for tomatoes. Not only do they offer all of the benefits listed above, but they’re also easy to come by and free!
If you have a lawn, simply mow as usual and then spread the grass clippings around your tomato plants. You can also ask your local landscaping company if they’ll save their grass clippings for you.
Just make sure that the grass clippings are clean and free of chemicals before using them as mulch. You don’t want to end up inadvertently poisoning your plants!
How to Mulch Your Tomatoes with Grass Clippings
Mulching your tomatoes with grass clippings is easy! Simply spread a layer of grass clippings around the base of the plant, being careful not to pile them too high.
A 2-3 inch layer of grass clippings is all you need. Any more than that and you may end up suffocating the plant.
Once you’ve spread a layer of grass clippings, water deeply to help them settle into place. Then, you can add more mulch as needed throughout the growing season.
Related Post: How Do I Get Rid Of A Raised Garden Bed? (Explained)
As your plants begin to produce fruit, be sure to pull back the mulch so that it doesn’t come into contact with the tomatoes themselves. This will help to prevent disease and rot.
You will also want to ensure you’re not putting the mulch over existing weeds, as this can simply help them to spread.
By following these simple tips, you can use grass clippings to create a healthy environment for your tomato plants to thrive!
Additional Tips for Growing Healthy Tomatoes
You had to know we were going to provide you with some additional tips for growing healthy tomatoes, right? In addition to mulching with grass clippings, you can also:
- Water deeply and regularly. Tomato plants need at least 1-2 inches of water per week.
- Fertilize regularly. A good tomato fertilizer will provide the nutrients your plants need to produce bountiful fruit.
- Stake or cage your plants. This will help to support the weight of the tomatoes and prevent them from touching the ground, where they are more likely to rot.
- Practice good garden hygiene. This means removing dead or diseased leaves and stems and any fallen fruit.
Final Thoughts on Using Grass Clippings as Mulch for Tomato Plants
Using grass clippings as mulch for your tomato plants is a great way to improve their overall health!
In addition to suppressing weeds, conserving water, and keeping the soil temperature cooler, using grass clippings can also help to improve plant health. Mulching your tomatoes with grass clippings is easy and free – so there’s no excuse not to do it!
Related Post: How to Fix Clumpy Garden Soil (Step by Step Guide)
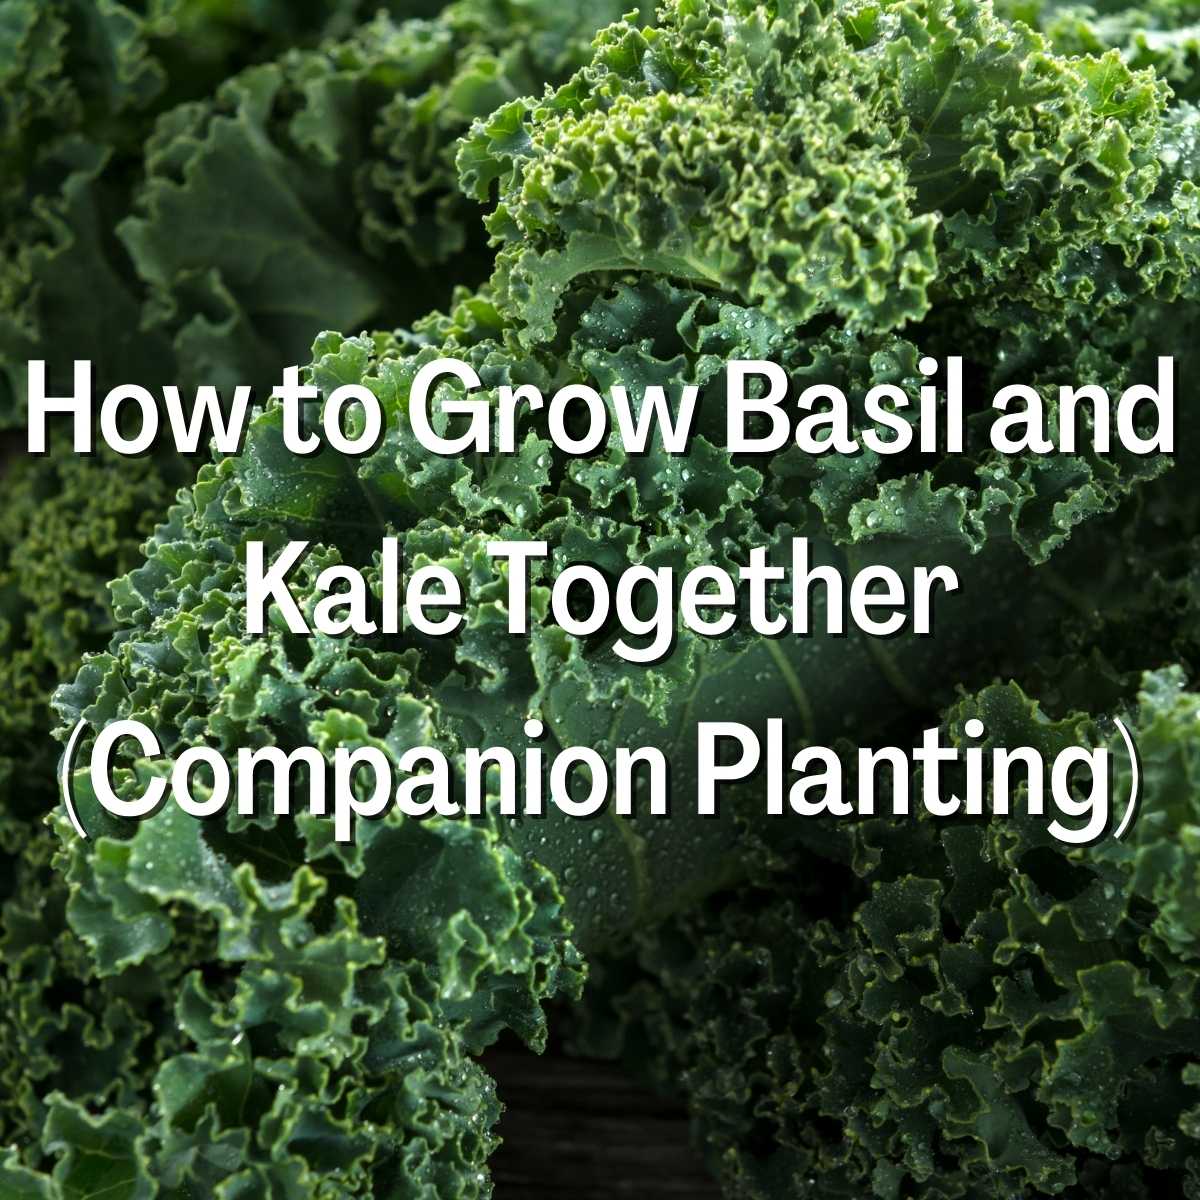
Companion planting is the practice of growing two or more plants together for mutual benefit. When done correctly, companion planting can improve the growth and health of your plants, as well as deter pests and improve the soil.
One great example of companion planting is pairing basil and kale together. Basil is a fragrant herb that deters pests, while kale is a hardy green that improves the soil quality. Together, they make a great team!
What Is Companion Planting?
Companion planting is the art of growing two or more plants nearby for mutual advantage. Companion planting can help your plants grow and thrive, prevent pests and enhance the soil quality.
There are many benefits to companion planting, including:
- Improved growth: Companion planting can help plants grow better by providing them with the nutrients they need. For example, nitrogen-fixing plants like legumes can help improve the soil quality for other plants.
- Deterrent to pests: Some plants release chemicals that deter pests. By companion planting these plants with others, you can help protect your crops from insect damage.
- Improved soil quality: Companion planting can also help improve the soil quality by adding organic matter and improving drainage.
What Are Basil and Kale?
Basil (Ocimum basilicum) is a fragrant herb that is commonly used in cooking. It is a member of the mint family and has a wide variety of medicinal uses.
Kale (Brassica oleracea) is a hardy green that is often used in salads or as a cooked vegetable. Kale is high in vitamins A, C, and K and contains calcium and iron.
Basil and kale are both easy to grow and make great companion plants!
The Benefits of Companion Planting Basil and Kale
For a good reason, basil and kale are two of the most popular leafy greens. Not only are they both packed with vitamins and minerals, but they also have a delicious flavor that can enhance any dish.
Related Post: Are Galvanized Raised Garden Beds Safe to Use? (Answered)
But did you know that these two greens also make great companions? That’s right, companion planting basil and kale can offer many benefits, including improved growth, bigger harvests, and even pest control.
So, companion planting is definitely worth considering if you’re looking for a way to get the most out of your basil and kale plants. Here’s everything you need to know about how to grow basil and kale together.
How to Grow Basil and Kale Together
Basil and kale are two of the most popular vegetables to grow in the home garden. Both are relatively easy to grow and offer a delicious, healthy addition to any meal. But did you know that these two plants can actually be beneficial to each other when grown together?
Companion planting, a technique that has been used for centuries, is the practice of growing different plant species together in order to maximize their growth potential and minimize pests and diseases. When done correctly, companion planting can lead to a more bountiful and healthier garden.
So, why not give it a try with your basil and kale? Here are a few tips on how to get started:
Choose the right location
Basil and kale both prefer full sun, so choose a spot in your garden that gets at least 6 hours of direct sunlight each day.
Prepare the soil
Both plants prefer well-drained soil that is rich in organic matter. Before planting, mix in some compost or aged manure to help improve the drainage and nutrient content of the soil.
Sow the seeds
Basil seeds can be sown directly in the ground, but kale seeds will need to be started indoors in seed trays or pots. Once they have germinated, transplant the seedlings into the garden bed.
Water regularly
Keep the soil moist but not waterlogged, as this can lead to root rot. Water in the morning so that the plants have time to dry off before nightfall.
Fertilize annually
Apply a balanced fertilizer such as 10-10-10 in early spring, just before new growth begins.
Harvest often
Both basil and kale are best when used fresh, so harvest leaves regularly throughout the growing season. Use pruning shears to cut individual leaves or the entire plant back by a few inches to encourage new growth.
Store properly
Basil leaves can be stored in the fridge for up to a week, while kale will keep for up to two weeks. To store longer, wash and dry the leaves then place them in airtight bags or containers in the fridge. We’ll go into more depth later on about storing your greens.
Related Post: Can I Use Miracle Gro Garden Soil in Pots? (Answered)
When Are Basil and Kale Ready to Harvest?
Basil and kale are typically ready to harvest 60-90 days after planting. However, you can start harvesting leaves as early as 30 days for basil and 45 days for kale.
To determine if your greens are ready to harvest, simply check the size of the leaves. For example, basil leaves should be about 2-3 inches long, while kale leaves can be 3-4 inches long or larger.
If you want to use the entire plant, wait until it has reached its full size before harvesting. For basil, this is typically 12-18 inches tall. For kale, 18-24 inches tall.
Once you’ve harvested your greens, it’s important to store them properly to ensure they remain fresh and delicious.
Harvesting Tips for Both Basil and Kale
As we mentioned earlier, both basil and kale are best when used fresh. That means harvesting the leaves on a regular basis throughout the growing season.
The best time to pick is in the morning. This is when the greens are the freshest and have the most moisture.
To harvest, simply cut the leaves from the plant using pruning shears. For basil, you can either cut individual leaves or snip off the entire plant about 2-3 inches above ground level. This will encourage new growth and provide you with a second harvest later in the season.
Kale can be harvested in a similar way, although you may want to wait until the leaves are a bit larger before cutting. If you want to use the entire plant, wait until it has reached its full size (18-24 inches tall) before harvesting.
How to Store Basil and Kale
Once you’ve harvested your greens, it’s important to store them properly to ensure they remain fresh and delicious.
Basil leaves can be stored in the fridge for up to a week, while kale will keep for up to two weeks. To store longer, wash and dry the leaves then place them in airtight bags or containers in the fridge.
You can also preserve basil and kale by freezing or drying them. To freeze, wash and dry the leaves and place them in freezer bags. Frozen greens will last for several months.
Related Post: Do Plants Grow Better in Soil or Sand? (Explained for Beginners)
To dry, Hang the plants upside down in a dark, well-ventilated space until the leaves are crisp. Once dry, crumble the leaves and store them in an airtight container. Dried basil and kale can be used in soups, stews, and other cooked dishes.
As you can see, there are many ways to enjoy these delicious greens, whether you grow them yourself or buy them from the store. So get out there and start planting!
Tips for Success on How to Care for Basil and Kale
Basil (Ocimum basilicum) and kale (Brassica oleracea) are two of the most popular plants in home gardens. They are also two of the easiest plants to grow together. Companion planting is a great way to get the most out of your garden space and maximize your plant yield.
Here are some tips on how to care for basil and kale when grown together:
- Choose a sunny location for your garden bed. Both basil and kale prefer full sun exposure.
- Amend the soil with organic matter before planting. This will help improve drainage and increase nutrient availability for your plants.
- Plant kale first, as it is a slower-growing plant than basil. Sow the seeds directly in the garden bed, or start them indoors and transplant them later.
- When planting basil, sow the seeds directly in the garden bed, start them indoors, and transplant them later.
- Water both plants regularly, keeping the soil evenly moist but not soggy.
- Fertilize kale every few weeks with a balanced liquid fertilizer. Basil does not need to be fertilized as often, but you can give it a light feeding of compost tea or fish emulsion once a month.
- Keep an eye out for pests and diseases. Aphids, whiteflies, and slugs are common pests that can attack both plants. In addition, downy mildew is a disease that can affect both basil and kale.
- Harvest kale when the leaves are 6-8 inches long. You can cut the entire plant down to 2-3 inches above ground level or selectively harvest individual leaves as needed.
- Basil is ready to harvest when the leaves are big enough to use. You can snip off individual leaves as needed or cut the entire plant back by half its height to encourage bushier growth.
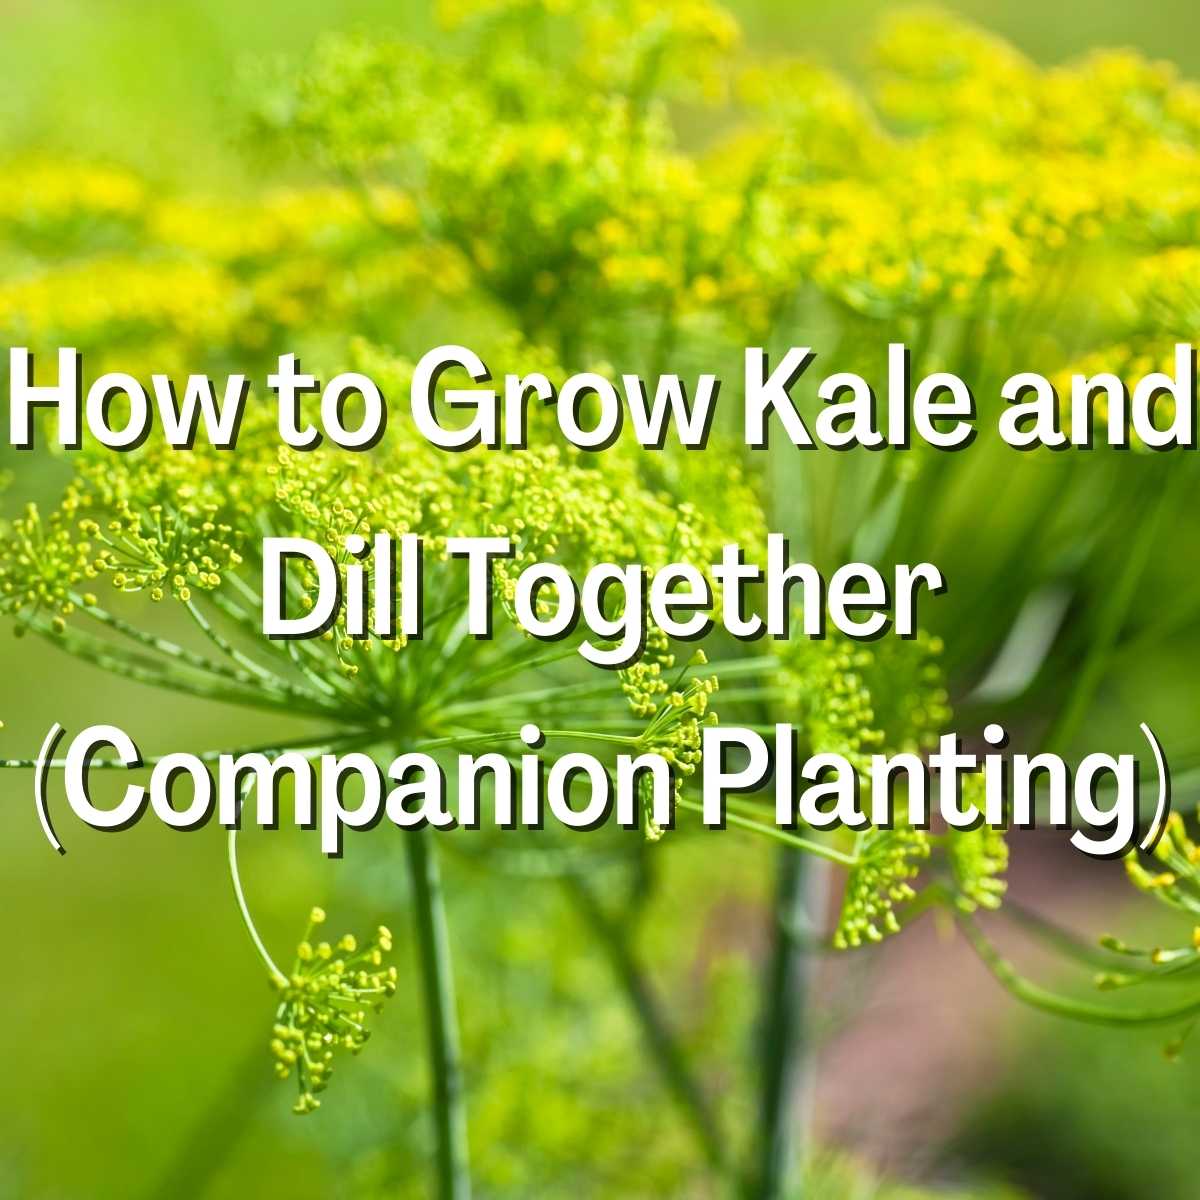
Companion planting is a great way to garden organically and get the most out of your plants. For example, you can take advantage of their complementary needs and benefits by planting kale and dill together.
Kale is a cool weather crop that does well in the early spring or late fall, while dill is a warm weather crop that does well in the summer. When planted together, these two plants will help each other out by deterring pests and providing nutrients to the soil.
Let’s jump in and learn more about how to grow kale and dill together!
What Is Companion Planting?
Companion planting is the practice of growing plants together that have a symbiotic relationship. This means they help each other out in some way, whether it’s through deterring pests, providing nutrients, or improving the soil’s overall health.
Companion planting has many benefits, but one of the most important is that it can help you garden organically. In addition, by taking advantage of the relationships between plants, you can avoid using harmful pesticides and fertilizers.
What Are Kale and Dill?
Kale is a leafy green vegetable that belongs to the cabbage family. It’s a cool weather crop that does well in the early spring or late fall. Kale is a nutrient-dense food and is an excellent source of vitamins A, C, and K. It’s also a good source of calcium, iron, and fiber.
Dill is an annual herb that belongs to the celery family. It’s a warm weather crop that does well in the summer. Dill has a delicate, slightly sweet flavor and is often used in pickling recipes. It’s also a good source of vitamins A and C.
The Benefits of Companion Planting Kale and Dill
Kale and dill have a few different benefits when planted together. For example, they can help deter pests, provide nutrients to the soil, and improve the overall health of your garden.
Related Post: The Ultimate Guide to Growing Kale in Your Garden: Tips, Tricks, and More!
One of the most important benefits of companion planting is that it can help you garden organically. In addition, by taking advantage of the relationships between plants, you can avoid using harmful pesticides and fertilizers.
Kale and dill also have a few different benefits when planted together. For example, they can help deter pests, provide nutrients to the soil, and improve the overall health of your garden.
Some of the pests that kale and dill can help deter include:
Cabbage loopers: These caterpillars are common pests of cabbage and kale. However, they don’t like the smell of dill, so planting dill near your kale can help deter them.
Aphids: Aphids are small, pear-shaped insects that feed on plants by sucking the sap out of their leaves. They can be a major problem for kale and other brassicas. However, dill attracts ladybugs, which feed on aphids. So planting dill near your kale can help keep aphids away.
Flea beetles: Flea beetles are small black bugs that jump when disturbed. They’re common pests of Brassica plants, including kale. Dill repels flea beetles, so planting it near your kale can help keep them away.
Kale and dill also provide nutrients to the soil. For example, dill improves the drainage of heavy soils, while kale adds organic matter to the soil. In addition, these plants can help improve the overall health of your garden by attracting beneficial insects and providing food for them.
Some of the beneficial insects that kale and dill can attract include:
Honeybees: Honeybees are important pollinators of many crops, including kale. They’re attracted to the flowers of dill, so planting dill near your kale can help increase pollination.
Ladybugs: Ladybugs are predators of aphids, so they can help control aphid populations in your garden. They’re attracted to the flowers of dill, so planting dill near your kale can help keep aphids away.
Lacewings: Lacewings are predators of many different pests, including aphids, caterpillars, and mites. They’re attracted to the flowers of dill, so planting dill near your kale can help reduce pest populations in your garden.
Related Post: How to Grow Kale Microgreens (Explained with Tips!)
How to Grow Kale and Dill Together
Kale and dill are both easy to grow and make a great companion planting pair. Here are a few tips for growing these plants together:
- Start by planting kale in the early spring or late fall. Then, Dill can be planted once the weather warms up in the summer.
- Plant kale and dill in full sun for best results.
- Make sure to space your plants properly. For example, kale should be spaced 12-18 inches apart, and dill should be spaced 18-24 inches apart.
- Water your plants regularly, especially during dry periods. Kale and dill both prefer moist soil.
- Harvest kale when the leaves are 6-8 inches long. You can start harvesting dill when the plants are 8-10 inches tall.
As you can see, kale and dill make a great companion planting pair. By taking advantage of their relationships, you can improve the overall health of your garden while deterring pests and attracting beneficial insects. So why not give them a try in your own garden today?
When Are Kale and Dill Ready to Harvest?
Kale and dill are both easy to grow and make a great companion planting pair. Here are a few tips for harvesting these plants:
- Kale is ready to harvest when the leaves are 6-8 inches long.
- Dill is ready to harvest when the plants are 8-10 inches tall.
- To harvest kale, cut the leaves off at the base of the plant.
- To harvest dill, cut the stems just above where they branch out.
Harvesting Tips for Both Kale and Dill
Kale and dill are both easy to grow and make a great companion planting pair. Here are a few tips for harvesting these plants:
- Start by harvesting kale in the early spring or late fall. Then, Dill can be harvested once the weather warms up in the summer.
- Plant kale and dill in full sun for best results.
- Make sure to space your plants properly. For example, kale should be spaced 12-18 inches apart, and dill should be spaced 18-24 inches apart.
- Water your plants regularly, especially during dry periods. Kale and dill both prefer moist soil.
Related Post: Are Greenhouse Vegetables Good for You? (Explained)
How to Store Kale and Dill
Kale and dill are two of the most popular vegetables, and they can be stored together without any problems. In fact, storing them together can actually help to keep each other fresh.
If you store kale in a plastic bag, make sure to put a paper towel inside the bag to absorb moisture. Otherwise, the kale will start to rot. Dill can be stored in a glass jar with a tight-fitting lid.
Regarding companion planting, kale and dill are a great pair. They can be planted together in the same pot or garden bed, complementing each other perfectly.
Tips for Success on How to Care for Kale and Dill
Kale and dill are two of the most popular herbs grown in home gardens. They are also great companions! Here are a few tips on how to care for kale and dill so they can thrive together.
Plant them in well-draining soil
Kale and dill both prefer well-draining soil so that their roots don’t become waterlogged. If your soil is heavy or clay-like, mix in some organic matter such as compost before planting.
Give them plenty of space
These plants will need room to grow, so be sure to give them enough space when you plant them. Kale can get up to 2 feet tall, while dill can reach up to 4 feet.
Water them regularly
Kale and dill need to be watered regularly, especially during hot summer. Be sure to check the soil before watering to make sure it is dry a few inches down.
Fertilize them monthly
To keep kale and dill healthy and growing strong, fertilize them with a balanced fertilizer once a month. You can also add some compost to the soil around the plants every few weeks.
Harvest often
Both kale and dill are best when used fresh, so be sure to harvest them often. Kale leaves can be eaten raw or cooked, while dill can be used in various recipes.
By following these tips, you can successfully grow kale and dill together in your garden!

Did you know that you can grow corn in a raised bed? It’s a great way to start the growing season; the earlier you can harvest your crop, the better.
In this article, we’ll explain how to grow corn in a raised bed so you can have fresh corn for your dinner table this summer!
What Is a Raised Bed, and Why Should You Grow Corn in One?
A raised bed is a planting area that is higher than the surrounding soil. Raised beds can be created with wood, stone, or even concrete blocks. They are often used in gardening because they offer many benefits, such as:
- Better drainage: Since raised beds are elevated, water drains more easily from the soil, which can improve plant growth.
- Warmer soil: The elevation of a raised bed can also make the soil warmer, which is ideal for corn since it is a warm-season crop.
- Easier to control weeds: Weeds can be more easily controlled in a raised bed because they are less likely to invade from the sides.
Now that you know some of the benefits of growing corn in a raised bed, let’s take a look at how to do it.
How to Prepare Your Raised Bed for Growing Corn
Before you can plant your corn, you need to prepare the raised bed. Start by adding some organic matter to the soil, such as compost or manure. This will help to improve the drainage and add nutrients that will benefit your plants.
Related Post: How to Grow Broccoli and Cauliflower Together (Companion Planting)
Next, use a garden hoe or tiller to loosen the soil to a depth of about 12 inches. This will help the roots of your plants to spread more easily.
Finally, make sure that the raised bed is level so that water can drain evenly from all sides. You can use a rake to achieve this. Once the raised bed is prepared, you are ready to plant your corn!
Planting Corn in A Raised Bed
Corn is typically planted in hills, which are small mounds of soil that are about 6 inches tall. To plant corn in a raised bed, simply create a hill in the middle of the bed.
You can plant multiple seeds on each hill, but be sure to space them out so they have room to grow after planting, water the seeds well, and keep the soil moist until they germinate.
Once the seedlings have emerged, thin them out so that only the strongest plants remain. You can do this by snipping off the weaker seedlings at the base with scissors.
Water your corn regularly, especially during dry periods. Apply a layer of mulch around the plants to help retain moisture and control weeds.
With proper care, your corn will mature in about three months. You can tell that the ears are ready to harvest when the husks turn brown and dry out.
Watering and Fertilizing Corn in A Raised Bed
As with any plant, watering is essential for corn growth. The amount of water that your corn plants will need will depend on the weather and the size of your raised bed.
Related Post: Can a Plant Grow Without Soil? How to Grow Plants at Home without Soil
It would help if you generally watered your corn about 1-2 inches per week. Then, apply the water at the base of the plants so that it can soak into the roots directly.
You can use a garden hose or irrigation system to deliver water to your raised bed. Just be sure not to overwater, as this can lead to root rot or other problems.
In addition to regular watering, you should also fertilize your corn plants about once a month. Use a balanced fertilizer that is high in nitrogen, such as 10-10-10.
Harvesting Corn from A Raised Bed
After about three months, your corn will be ready to harvest! To do this, simply cut the ears of corn from the stalk with a sharp knife.
Be sure to leave some of the leaves on the stalk so that the next generation of corn can grow.
You can then enjoy your fresh corn on the cob, or use it to make other dishes like succotash or corn chowder.
With a little bit of care, you can easily grow delicious corn in a raised bed. So why not give it a try this growing season?
Are There Any Downsides to Growing Corn in A Raised Garden Bed?
One of the potential downsides of growing corn in a raised bed is that the plants can be more susceptible to wind damage. This is because they are elevated and not as well-anchored into the ground as they would be if they were grown in a traditional garden plot.
To counteract this, you can build a windbreak around your raised bed or choose a variety that is known to be more resistant to wind damage.
Another potential downside is that pests and diseases can more easily spread to your corn plants in a raised bed. This is because the plants are closer together, making it easier for pests to travel from plant to plant.
Related Post: Do Dead Leaves Help Plants Grow? The Effects of Fertilizing with Dead Leaves
To reduce the risk of pests and diseases, practice good crop rotation by planting different crops in your raised bed each year. You can also use pest and disease-resistant varieties of corn.
Overall, growing corn in a raised bed can be a great way to produce a bountiful harvest of delicious corn. Just be sure to take extra precautions to protect your plants from wind damage, pests, and diseases.
How Much Corn Can You Plant in A Raised Garden Bed?
The amount of corn you can plant in a raised bed will depend on the size of the bed and the variety of corn you are growing.
As a general rule of thumb, you can expect to yield about 8-10 ears of corn per 10-foot row. So, if you have a 4×8 raised garden bed, you can expect to harvest around 32-40 ears of corn from it.
Of course, this is just an estimate. Some varieties of corn may produce more or less than this, and your results may vary depending on the care you give your plants and other factors.
So, if you want to grow a lot of corn in a small space, a raised garden bed might be a great option.
Final Thoughts
Growing corn in a raised bed can be an easy and convenient way to produce this delicious vegetable. However, you can ensure a bountiful harvest by adequately preparing the bed and planting the seeds.
Be sure to water and fertilize your plants regularly, and then enjoy harvesting your fresh corn!
-

 Gardening5 months ago
10 Surprising Facts About Greenhouses (How Do Greenhouses Work?)
-
 Gardening5 months ago
Tips for Growing Tomatoes in Clay Soil (Important Facts!)
-
 Gardening5 months ago
Why Seed Scarification is Important (What Is Seed Scarification)
-

 Gardening5 months ago
How to Keep Squirrels Away with Coffee Grounds (Answered)
-

 Gardening5 months ago
How to Get Rid of Bugs in Your Bagged Soil (Answered)
-

 Gardening5 months ago
Can You Grow Plants in Sand? (Important Information)
-

 Backyard5 months ago
Should You Remove Pine Needles from Under a Tree? (Answered)
-

 Gardening4 months ago
Lipton Hot Tea: Savoring Tradition and Wellness